So, you wanna SSH into your Raspberry Pi from outside your local network, huh? Let’s face it—connecting to your Pi through a firewall can feel like solving a riddle wrapped in an enigma. But don’t panic! This guide is here to help you break through those firewalls and make remote access a breeze. Whether you're setting up a home server or just want to tinker with your Pi from afar, we've got your back.
SSH (Secure Shell) is the Swiss Army knife of remote computing. It lets you control your Raspberry Pi from anywhere in the world as long as you can punch through that pesky firewall. But hey, before we dive deep into the technical stuff, let’s make sure you’re on the same page. SSH allows you to access your Pi's command line interface securely, which is super handy when you're not physically near your device.
Now, here’s the kicker: firewalls are designed to block unauthorized access, so getting through them requires a bit of finesse. Don’t worry—we’ll walk you through every step, from understanding firewalls to configuring your Raspberry Pi for remote access. By the end of this guide, you'll be a pro at SSH-ing through firewalls!
Read also:Robin Bernard The Rising Star You Need To Know About
Let's jump right into the nitty-gritty details, shall we?
Table of Contents
- Understanding SSH and Its Importance
- Firewall Basics: What You Need to Know
- Setting Up Your Raspberry Pi
- Port Forwarding: The Key to Unlocking Remote Access
- Using Dynamic DNS for Easy Access
- SSH Tunneling: A Sneaky Workaround
- Tools and Software You’ll Need
- Security Tips for SSH Connections
- Troubleshooting Common Issues
- Wrapping It All Up
Understanding SSH and Its Importance
Alright, let’s start with the basics. SSH, or Secure Shell, is like the secret handshake of the tech world. It’s a protocol that lets you securely connect to a remote device over an unsecured network, like the internet. When you SSH into your Raspberry Pi, you’re basically telling it, “Hey, let me in!” and it says, “Sure, but only if you know the password.”
SSH is super important because it encrypts all communication between you and your Pi. This means that even if someone intercepts your data, they won’t be able to make sense of it. Without SSH, you’d be sending your commands and passwords in plain text, which is a big no-no in the cybersecurity world.
Why SSH is Essential for Raspberry Pi Users
Raspberry Pi users love SSH because it allows them to manage their devices remotely. Whether you’re running a web server, a media center, or just experimenting with code, SSH gives you the freedom to control your Pi from anywhere. Plus, it’s free, open-source, and works on pretty much every operating system.
So, if you’re thinking, “Do I really need SSH?” the answer is a resounding yes. Trust us, once you start using it, you’ll wonder how you ever lived without it.
Firewall Basics: What You Need to Know
Firewalls are like bouncers at a club—they decide who gets in and who stays out. They’re designed to protect your network from unwanted traffic, but sometimes they can be a bit overzealous. When you try to SSH into your Raspberry Pi from outside your local network, the firewall might block your connection because it doesn’t recognize you.
Read also:Unveiling The Truth About Gambling A Comprehensive Guide
There are two main types of firewalls you need to know about:
- Software Firewalls: These are installed on individual devices, like your router or computer. They control incoming and outgoing traffic based on predefined rules.
- Hardware Firewalls: These are usually built into your router and act as a first line of defense for your entire network.
Understanding how firewalls work is crucial if you want to SSH into your Raspberry Pi. You’ll need to configure your firewall to allow SSH traffic, which usually involves opening a specific port.
Setting Up Your Raspberry Pi
Before you can SSH into your Raspberry Pi, you need to make sure it’s properly set up. Here’s a quick checklist to get you started:
Step 1: Install Raspbian or Your Preferred OS
First things first, make sure your Raspberry Pi is running a compatible operating system. Raspbian is the most popular choice, but you can use pretty much any Linux-based OS. Just remember to enable SSH in the settings.
Step 2: Update Your System
Run the following commands to update your Pi’s software:
- sudo apt update
- sudo apt upgrade
This ensures that you’re running the latest version of everything, which is important for security reasons.
Port Forwarding: The Key to Unlocking Remote Access
Port forwarding is like giving your Raspberry Pi a VIP pass through the firewall. By forwarding a specific port on your router to your Pi’s IP address, you’re telling the firewall, “Hey, let this traffic through.”
Here’s how you can set up port forwarding:
- Log in to your router’s admin interface. This is usually done by typing your router’s IP address into a web browser.
- Find the port forwarding section. It might be labeled as “Port Forwarding,” “Virtual Servers,” or something similar.
- Add a new rule. Use port 22 (the default SSH port) and point it to your Raspberry Pi’s local IP address.
- Save your changes and restart your router if necessary.
And just like that, you’ve created a pathway for SSH traffic to reach your Pi.
Using Dynamic DNS for Easy Access
Dynamic DNS (DDNS) is a game-changer for anyone trying to SSH into their Raspberry Pi. It assigns a domain name to your home IP address, making it easier to connect from anywhere. Without DDNS, you’d have to remember your IP address, which can change if your ISP resets it.
Here’s how you can set up DDNS:
- Sign up for a DDNS service like No-IP or DynDNS.
- Install the DDNS client on your Raspberry Pi.
- Configure the client to update your domain name whenever your IP address changes.
With DDNS in place, you can SSH into your Pi using a memorable domain name instead of a string of numbers.
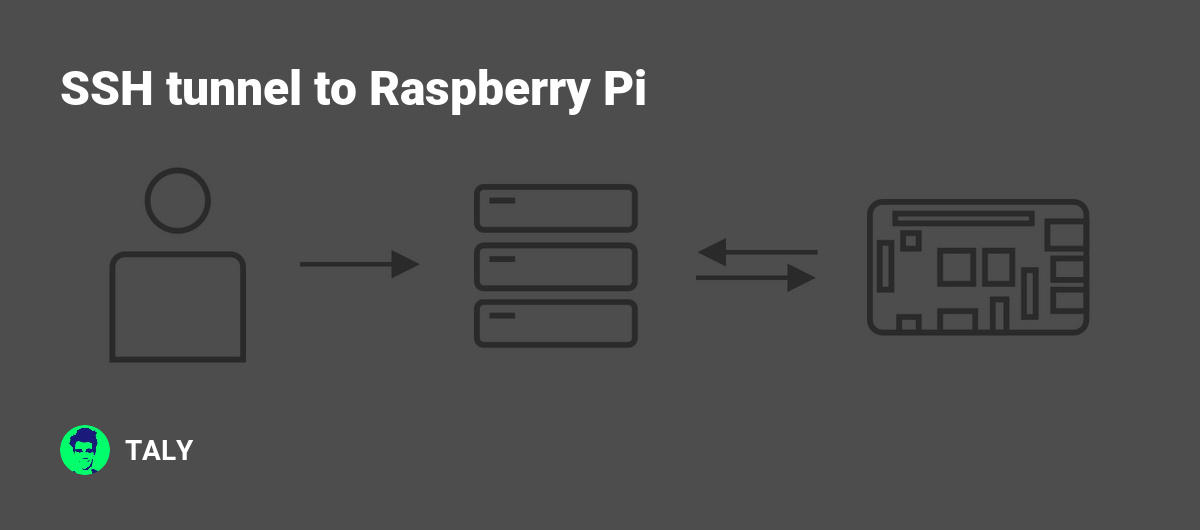
SSH Tunneling: A Sneaky Workaround
Sometimes, firewalls are just too strict to allow direct SSH connections. In these cases, SSH tunneling can be a lifesaver. It works by creating a secure connection between your local machine and a remote server, which then forwards traffic to your Raspberry Pi.
Here’s how you can set up an SSH tunnel:
- Find a remote server that allows SSH connections. This could be a VPS or a friend’s server.
- Use the following command to create the tunnel:
- ssh -L 2222:your-pi-ip:22 user@remote-server
- Now, you can SSH into your Pi by connecting to localhost on port 2222.
SSH tunneling is a bit more complicated than the other methods, but it’s worth it if you need to bypass a particularly strict firewall.
Tools and Software You’ll Need
Having the right tools can make all the difference when you’re trying to SSH into your Raspberry Pi. Here are a few essentials:
- Putty: A popular SSH client for Windows users.
- Terminal: Built into macOS and Linux, this is the simplest way to SSH from these platforms.
- DDNS Client: As mentioned earlier, this helps you keep track of your IP address.
- Firewall Configuration Tool: Your router’s admin interface should have everything you need to set up port forwarding.
Make sure you have these tools ready before you start configuring your SSH setup.
Security Tips for SSH Connections
Security should always be a top priority when setting up SSH. Here are a few tips to keep your Raspberry Pi safe:
- Change the Default SSH Port: Instead of using port 22, choose a random high-numbered port. This makes it harder for attackers to find your SSH service.
- Use Key-Based Authentication: Passwords are easy to crack, so consider using SSH keys instead. They’re more secure and convenient.
- Disable Root Login: Allowing root access over SSH is a bad idea. Create a regular user account and use sudo when necessary.
By following these tips, you’ll significantly reduce the risk of unauthorized access to your Raspberry Pi.
Troubleshooting Common Issues
Even with the best-laid plans, things can go wrong. Here are some common issues you might encounter and how to fix them:
- Connection Refused: Double-check your port forwarding settings and make sure your Pi’s SSH service is running.
- Timeout Errors: This usually means your firewall is blocking the connection. Verify that the correct ports are open.
- Authentication Failed: Make sure you’re using the right username and password or SSH key.
If you’re still having trouble, don’t hesitate to consult the official Raspberry Pi documentation or seek help from online forums.
Wrapping It All Up
SSH-ing into your Raspberry Pi through a firewall might sound intimidating at first, but with the right knowledge and tools, it’s totally doable. From understanding firewalls to setting up port forwarding and using DDNS, we’ve covered everything you need to know to gain remote access to your Pi.
Remember, security is key. Always follow best practices to protect your Raspberry Pi from potential threats. And don’t forget to test your setup thoroughly to ensure everything works as expected.
Now that you’ve mastered SSH through firewalls, why not share your newfound knowledge with others? Leave a comment below or share this article with your fellow tech enthusiasts. Happy tinkering!