Alright folks, let’s dive into something super techy but super useful—Linux VNC IoT behind firewall! If you’re reading this, chances are you’ve been scratching your head trying to figure out how to get your IoT devices securely connected via VNC while behind a firewall. Don’t worry, you’re not alone. Today, we’re going to break it down step by step, making sure you don’t feel like a noob by the end of this guide. Let’s get started!
Imagine this—you’ve got an Ubuntu machine running, and you want to remotely access it using VNC, but your network is locked down tight with firewalls. Sounds like a challenge, right? Well, fear not because we’re about to show you how to navigate through this like a pro. Whether you're a seasoned Linux guru or just starting out, this guide will help you set up a secure remote access system for your IoT devices.
Before we dive deeper, let’s quickly talk about why this matters. In today’s world, IoT devices are everywhere, from smart homes to industrial automation. But with great power comes great responsibility, and securing these devices is crucial. That’s where Linux VNC comes in, giving you the ability to remotely control your devices without compromising security. So, buckle up, because we’re about to take you on a journey through the world of remote access, firewalls, and IoT.
Read also:Kimbrel Braves The Journey Of A Legend In The Mlb
What is Linux VNC and Why Should You Care?
Let’s start with the basics. VNC, or Virtual Network Computing, is a graphical desktop sharing system that allows you to remotely control another computer. When you combine this with Linux, especially Ubuntu, you’ve got yourself a powerful tool for managing your IoT devices. Here’s why you should care:
- **Remote Access**: Need to tweak settings on your IoT device from across the globe? VNC’s got you covered.
- **Security**: With the right setup, you can ensure that your devices are safe from prying eyes.
- **Cost-Effective**: No need to invest in expensive hardware when you can manage everything from your existing setup.
Now, let’s talk about the elephant in the room—firewalls. Firewalls are like bouncers at a club, deciding who gets in and who doesn’t. When you’re trying to access your IoT devices remotely, you need to make sure your firewall isn’t blocking the connection. We’ll cover how to handle this later, but for now, let’s move on to the next step.
Why Ubuntu is the Go-To Choice for IoT and VNC
Ubuntu is one of the most popular Linux distributions out there, and for good reason. It’s user-friendly, secure, and packed with features that make it perfect for IoT applications. Here are a few reasons why Ubuntu is the go-to choice:
- **Stability**: Ubuntu is known for its rock-solid stability, which is crucial when dealing with IoT devices.
- **Community Support**: With a massive community of users and developers, you’ll never be short of help or resources.
- **Compatibility**: Ubuntu works seamlessly with a wide range of hardware and software, making it ideal for IoT setups.
But enough about why Ubuntu’s great—let’s get into the nitty-gritty of setting it up for VNC and IoT.
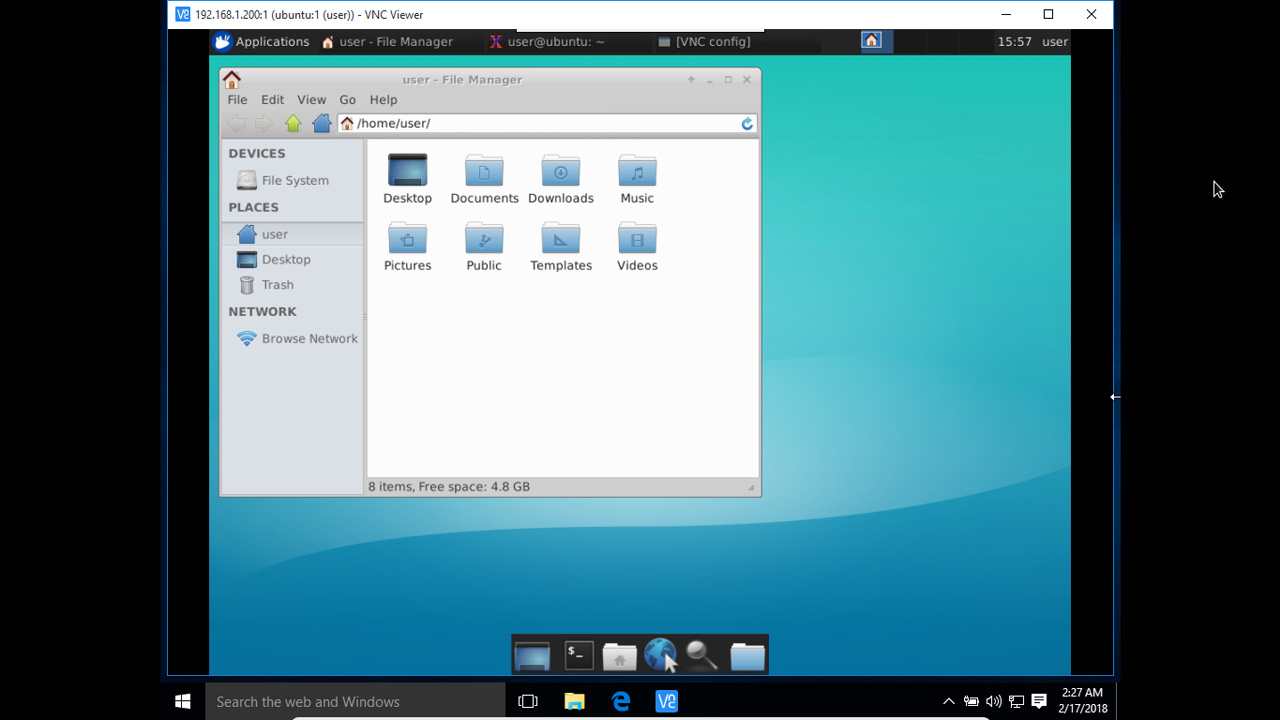
Setting Up Ubuntu for VNC
Alright, let’s roll up our sleeves and get to work. The first step is downloading Ubuntu. You can grab the latest version from the official Ubuntu website. Once you’ve got the ISO file, you’ll need to install it on your machine. If you’re not sure how to do this, don’t worry—there are plenty of tutorials out there to guide you through the process.
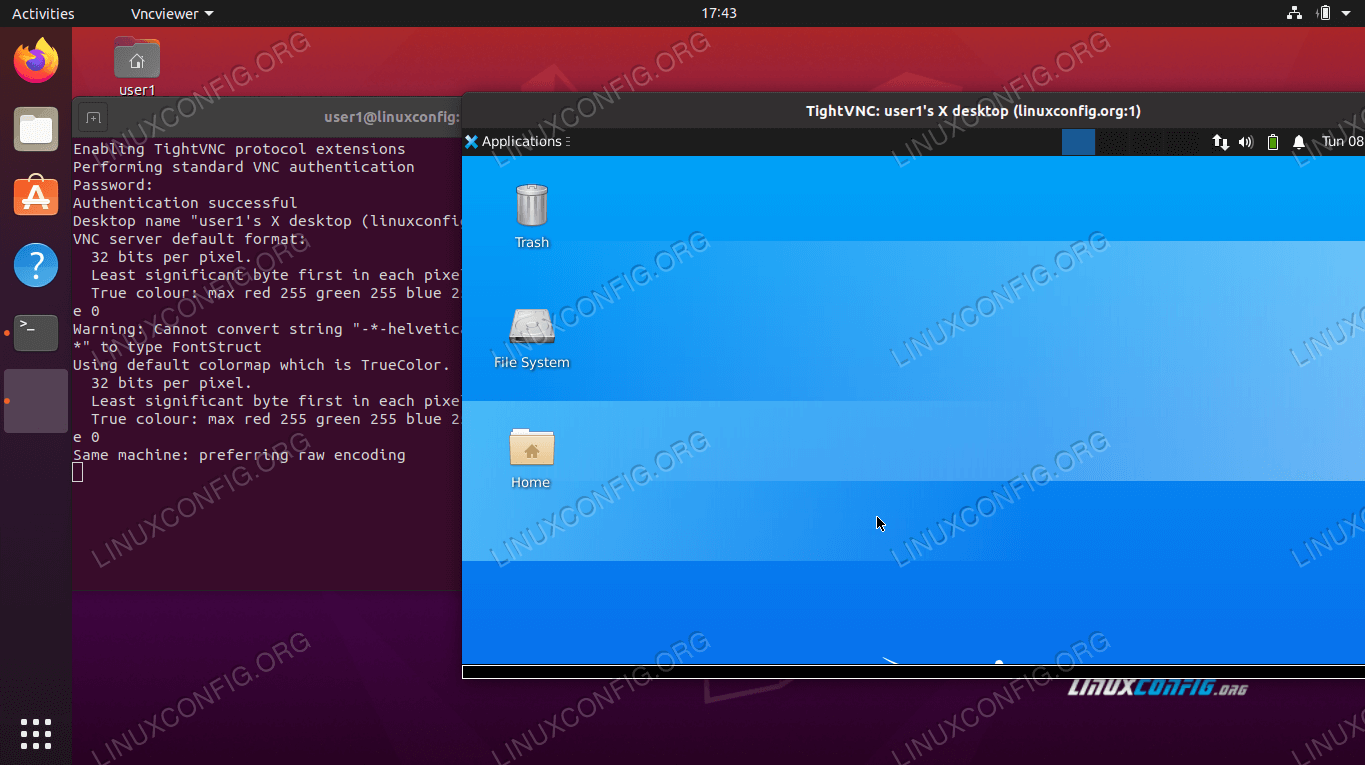
Step 1: Install VNC Server
Once Ubuntu is installed, it’s time to set up the VNC server. There are several VNC servers available, but TightVNC and TigerVNC are two of the most popular choices. Here’s how to install TightVNC:
Read also:Lindsay Usich A Rising Star In The Entertainment World
- Open a terminal window.
- Type `sudo apt update` and hit enter.
- Then type `sudo apt install tightvncserver` and hit enter.
That’s it! You’ve now installed the VNC server. Next, you’ll need to configure it.
Step 2: Configure VNC Server
Configuring the VNC server is pretty straightforward. Here’s what you need to do:
- Run the command `vncserver` to start the server for the first time.
- You’ll be prompted to set a password. Make sure it’s strong and secure!
- Once the server is running, you can connect to it using a VNC client from another machine.
With the VNC server up and running, you’re ready to move on to the next step.
Securing Your IoT Devices Behind a Firewall
Firewalls are essential for protecting your network, but they can also be a pain when you’re trying to access your IoT devices remotely. Here’s how to configure your firewall to allow VNC connections:
Step 1: Identify the VNC Port
VNC typically uses port 5900 for connections. However, if you’re using multiple VNC sessions, the port numbers will increment (e.g., 5901, 5902, etc.). Make a note of the port number you’re using.
Step 2: Configure the Firewall
Now it’s time to configure your firewall. If you’re using a Linux-based firewall, you can use the `iptables` command to allow VNC traffic. Here’s how:
- Open a terminal window.
- Type `sudo iptables -A INPUT -p tcp --dport 5900 -j ACCEPT` and hit enter.
This command allows incoming traffic on port 5900. If you’re using a different port, replace `5900` with the appropriate number.
Advanced Security Measures
While configuring your firewall is a great start, there are additional security measures you can take to protect your IoT devices:
1. Use SSH Tunneling
SSH tunneling is a great way to secure your VNC connections. Here’s how it works:
- Set up an SSH server on your Ubuntu machine.
- Use an SSH client to create a tunnel between your local machine and the remote machine.
- Connect to the VNC server through the SSH tunnel.
This ensures that your VNC traffic is encrypted and secure.
2. Enable Two-Factor Authentication
Two-factor authentication adds an extra layer of security to your VNC connections. Most VNC servers support this feature, so be sure to enable it.
Common Issues and Troubleshooting
Even with the best setup, you might run into issues. Here are a few common problems and how to fix them:
Issue 1: Unable to Connect
If you’re unable to connect to your VNC server, check the following:
- Make sure the VNC server is running.
- Verify that the firewall is configured correctly.
- Ensure that the VNC client is set to the correct IP address and port number.
Issue 2: Slow Connection
Slow connections can be frustrating, but there are a few things you can do to speed things up:
- Reduce the screen resolution on the VNC server.
- Disable color depth if you don’t need it.
- Use a faster network connection if possible.
Conclusion
Well, there you have it—a comprehensive guide to setting up Linux VNC for IoT devices behind a firewall. By following the steps outlined in this article, you should now have a secure and reliable remote access system for your IoT devices. Remember, security is key, so don’t skimp on the advanced measures we discussed.
Now it’s your turn to take action! Leave a comment below letting us know how this guide helped you. And if you found this article useful, don’t forget to share it with your friends and colleagues. Happy tinkering, and stay safe out there!
References
For more information on VNC, firewalls, and IoT security, check out these resources:
Table of Contents