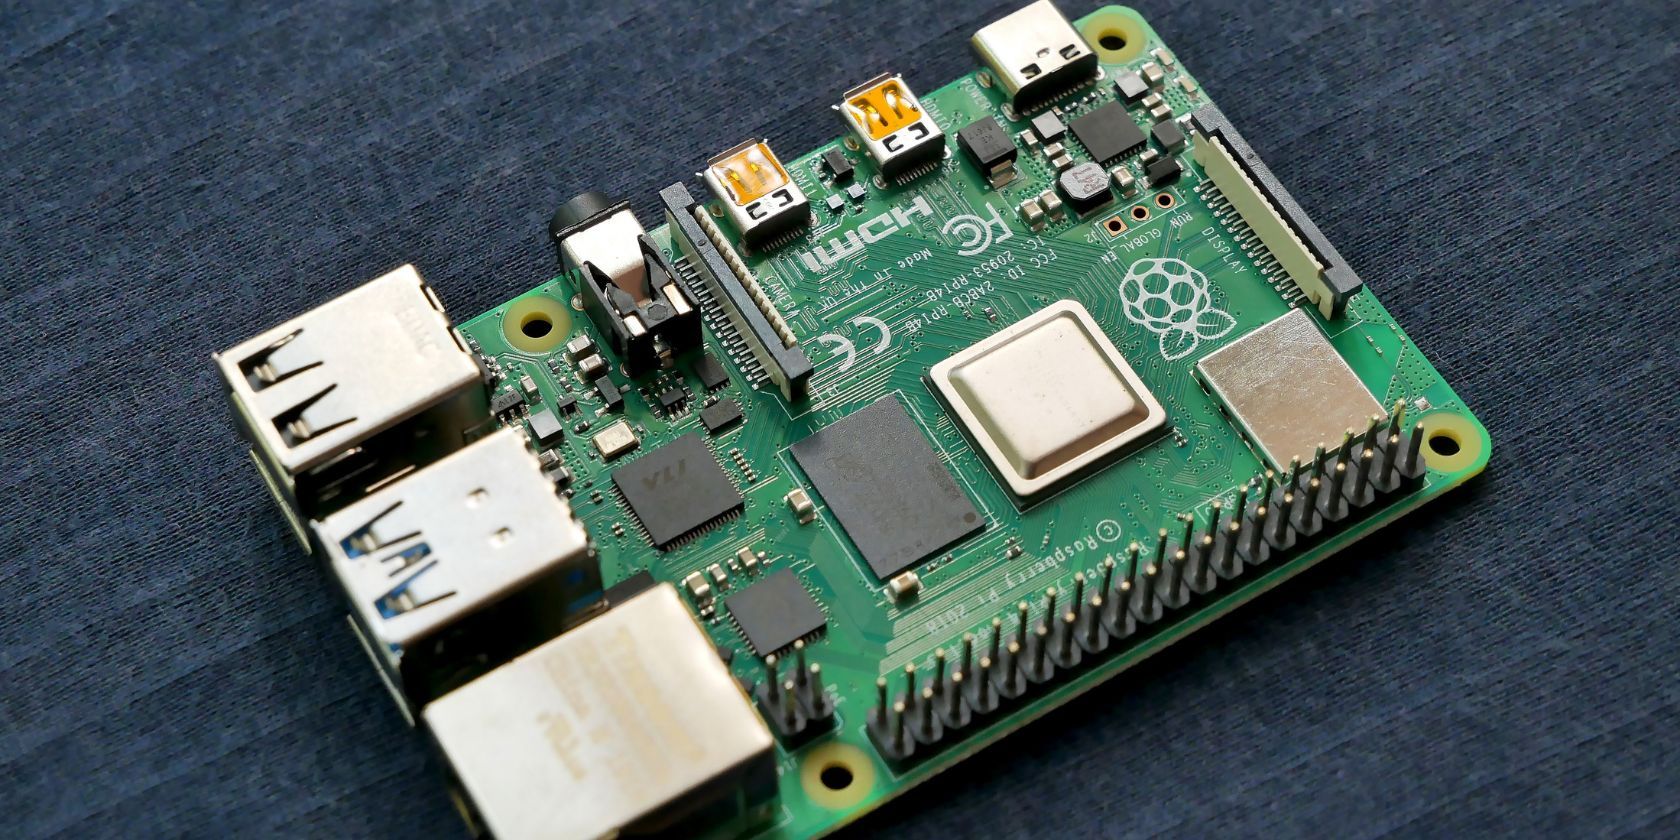
Have you ever wondered how to make your Raspberry Pi accessible from anywhere in the world? Well, buckle up because we're diving deep into the magical world of Raspberry Pi public IP addresses! Whether you're a tech enthusiast, a hobbyist, or just someone curious about expanding your Pi's capabilities, this guide is your golden ticket to unlocking its full potential. We'll break it down step by step so even if you're not a networking guru, you'll still walk away with the knowledge you need to set up your Pi like a pro.
Picture this: you're sitting in a cozy café miles away from home, sipping on your favorite latte, and suddenly you need to access your Raspberry Pi project. With a public IP address, you can connect to your Pi as if you were right next to it. Sounds awesome, right? But before we get into the nitty-gritty, let's first understand what a Raspberry Pi public IP address really is and why it matters.
Now, if you're thinking this is going to be some boring tech lecture, think again. We're going to keep it light, fun, and packed with practical tips. So grab your favorite snack, and let's dive into the world of Raspberry Pi public IP addresses!
Read also:Devon Sawa Movies The Journey Of A Rising Star
Understanding Raspberry Pi Public IP Address
Alright, let's start with the basics. What exactly is a Raspberry Pi public IP address? Simply put, it's the address that allows your Pi to be reachable from the internet. Think of it as your Pi's "home address" on the web. When you assign a public IP address to your Raspberry Pi, you're essentially giving it a unique identifier that devices from all over the world can use to connect to it.
But why is this important? Well, imagine having a smart home system powered by your Raspberry Pi. With a public IP address, you can control your lights, thermostats, or security cameras from anywhere in the world. Or maybe you're running a web server on your Pi, and you want people to access your website. A public IP address makes all of this possible.
Why Do You Need a Public IP Address for Raspberry Pi?
Let's break it down with some bullet points:
- Remote Access: Connect to your Pi from anywhere in the world.
- Web Hosting: Run your own website or application server.
- Smart Home Control: Manage your home automation devices remotely.
- File Sharing: Access files stored on your Pi from any location.
- Security Monitoring: Keep an eye on your home or office using IP cameras.
As you can see, having a public IP address opens up a world of possibilities for your Raspberry Pi projects. But remember, with great power comes great responsibility. Security is key when exposing your Pi to the internet, and we'll cover that later in this guide.
Setting Up Your Raspberry Pi for Public IP Access
Now that you understand the importance of a public IP address, let's talk about how to set it up. The process might sound intimidating, but trust us, it's easier than you think. Follow these steps, and you'll have your Pi ready for global access in no time.
Step 1: Check Your Internet Service Provider
Before you dive into setting up your Raspberry Pi, it's crucial to check with your ISP. Some providers block public IP addresses or charge extra for them. Make sure you're allowed to use a public IP address without any restrictions.
Read also:Oj Simpson First Wife The Untold Story You Need To Know
Step 2: Configure Your Router
Your router is the gateway between your local network and the internet. To allow external access to your Raspberry Pi, you'll need to configure port forwarding. This process involves directing specific ports on your router to your Pi's local IP address.
Here's a quick guide on how to do it:
- Log in to your router's admin panel.
- Find the port forwarding section.
- Add a new rule, specifying the port number and your Pi's local IP address.
Step 3: Assign a Static IP Address to Your Pi
Assigning a static IP address ensures that your Pi always has the same local IP, which is crucial for port forwarding. Here's how you can do it:
- Open the terminal on your Raspberry Pi.
- Edit the network configuration file using a text editor like nano.
- Set a static IP address in the file and save your changes.
Securing Your Raspberry Pi with a Public IP Address
Security should always be your top priority when exposing your Raspberry Pi to the internet. Here are some tips to keep your Pi safe:
1. Use Strong Passwords
Never use simple or default passwords. Create strong, unique passwords for all your accounts and services running on your Pi.
2. Enable a Firewall
A firewall acts as a barrier between your Pi and potential threats. Use tools like UFW (Uncomplicated Firewall) to set up and manage your firewall rules easily.
3. Keep Your Software Updated
Regularly update your Raspberry Pi's operating system and installed software to patch any security vulnerabilities.
4. Use SSH Keys Instead of Passwords
SSH keys provide a more secure way to log in to your Pi remotely. Generate a key pair and configure your Pi to accept only key-based authentication.
Alternatives to Public IP Addresses
While public IP addresses are great, they're not the only way to access your Raspberry Pi remotely. Here are some alternatives you might want to consider:
1. Dynamic DNS (DDNS)
DDNS services allow you to assign a domain name to your Pi's dynamic IP address. This way, even if your IP changes, you can still access your Pi using the same domain name.
2. Reverse SSH Tunneling
Reverse SSH tunneling creates a secure connection from your Pi to a remote server, allowing you to access your Pi from anywhere without needing a public IP address.
3. Cloud Services
Services like ngrok or cloud-based platforms can provide you with a public endpoint to access your Pi without dealing with IP addresses or router configurations.
Troubleshooting Common Issues
Even with the best setup, issues can arise. Here are some common problems and how to fix them:
1. Can't Access Your Pi from Outside Your Network
Make sure your router's port forwarding is correctly configured and that your firewall isn't blocking the necessary ports.
2. IP Address Keeps Changing
Check if your ISP assigns dynamic IP addresses. If so, consider using a DDNS service to keep track of your IP changes.
3. Slow Connection Speeds
Ensure your Pi is connected to a stable network and that your router is not overloaded with too many devices.
Advanced Tips for Raspberry Pi Public IP Address
For those of you who want to take things a step further, here are some advanced tips:
1. Use a Reverse Proxy
A reverse proxy can help manage multiple services running on your Pi by directing traffic to the correct application based on the URL.
2. Set Up SSL Certificates
Encrypting your Pi's communications with SSL ensures that your data is secure while traveling over the internet.
3. Monitor Your Pi's Traffic
Use tools like Pi-Hole or tcpdump to monitor and analyze the traffic coming in and out of your Pi.
Real-World Applications of Raspberry Pi Public IP Address
Now that you know how to set up and secure your Raspberry Pi with a public IP address, let's explore some real-world applications:
1. Home Automation
Create a smart home system that you can control from anywhere using your smartphone or computer.
2. Personal Cloud Storage
Set up your own cloud storage server and access your files from any location.
3. Web Hosting
Run your own website or application server and share your creations with the world.
4. Security Camera System
Monitor your home or office using IP cameras connected to your Raspberry Pi.
Conclusion
And there you have it, folks! A comprehensive guide to understanding, setting up, and securing your Raspberry Pi public IP address. Whether you're using it for home automation, web hosting, or any other cool project, a public IP address can take your Raspberry Pi to the next level.
Remember, security is paramount when exposing your Pi to the internet. Always follow best practices to protect your device and data. And don't forget to explore the various alternatives and advanced tips we discussed to make the most out of your Pi's capabilities.
Now it's your turn! Share your thoughts, questions, or experiences in the comments below. And if you found this guide helpful, don't hesitate to share it with your friends and fellow Pi enthusiasts. Happy tinkering!
Table of Contents
- Unlocking the Power of Raspberry Pi Public IP Address: Your Ultimate Guide
- Understanding Raspberry Pi Public IP Address
- Why Do You Need a Public IP Address for Raspberry Pi?
- Setting Up Your Raspberry Pi for Public IP Access
- Step 1: Check Your Internet Service Provider
- Step 2: Configure Your Router
- Step 3: Assign a Static IP Address to Your Pi
- Securing Your Raspberry Pi with a Public IP Address
- Use Strong Passwords
- Enable a Firewall
- Alternatives to Public IP Addresses
- Dynamic DNS (DDNS)
- Troubleshooting Common Issues
- Advanced Tips for Raspberry Pi Public IP Address
- Real-World Applications of Raspberry Pi Public IP Address
- Conclusion