Imagine this—you’ve got a Raspberry Pi sitting on your desk, and you’re thinking, “What can I do with this tiny powerhouse?” Well, buckle up because today we’re diving deep into one of the coolest projects out there: creating a Raspberry Pi VPC network example. This isn’t just about setting up a local server; it’s about building your very own cloud infrastructure right at home.
Now, if you’re anything like me, the idea of a VPC (Virtual Private Cloud) might sound intimidating. But trust me, it’s not as scary as it seems. A Raspberry Pi VPC network example is a fantastic way to learn the ins and outs of cloud computing without spending a dime on AWS or Azure. Plus, it’s a great skill to have in your pocket, especially if you’re into tech or want to future-proof your career.
In this article, we’ll break down everything you need to know about Raspberry Pi VPC networks. From the basics of what a VPC is to step-by-step examples, you’ll be up and running in no time. So, grab a coffee, settle in, and let’s get started!
Read also:Kurt Warner Football Stats The Untold Story Of A Legend
What is a Raspberry Pi VPC Network?
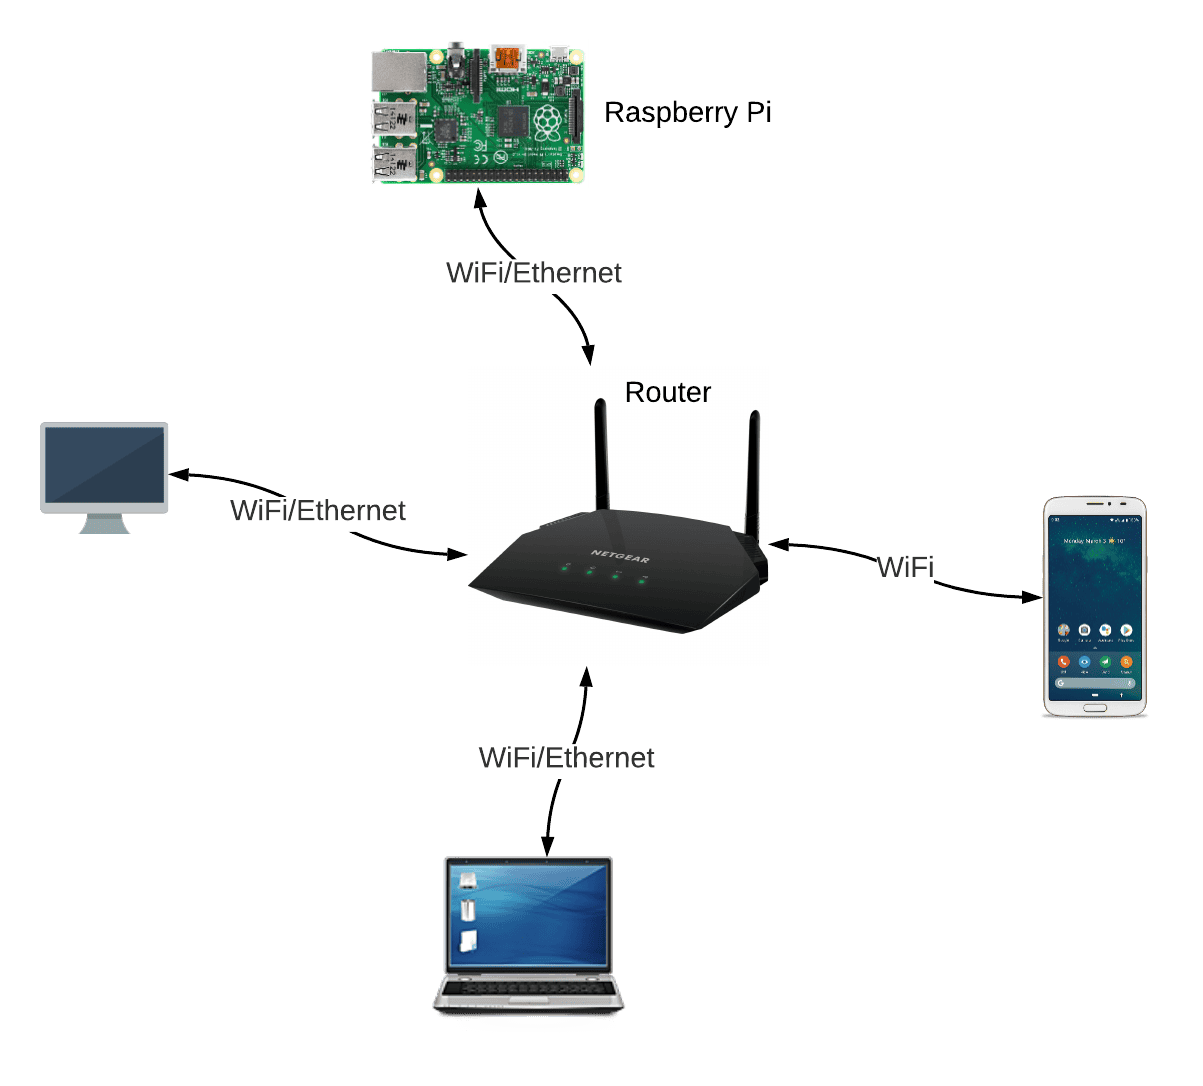
Let’s start with the basics. A Raspberry Pi VPC network is essentially a private cloud environment that you can create using your Raspberry Pi. Think of it as a mini data center in your living room. It allows you to isolate your applications and services within a secure network, just like how big tech companies do it on a larger scale.
A VPC network provides you with the flexibility to manage multiple devices, set up subnets, and configure security settings—all from the comfort of your home. This setup is perfect for hobbyists, students, or even professionals who want to experiment with cloud technologies without the hefty price tag.
Why Should You Build a Raspberry Pi VPC Network?
There are plenty of reasons why building a Raspberry Pi VPC network is worth your time. Here are just a few:
- Cost-Effective: You don’t need to spend hundreds of dollars on cloud services. With a Raspberry Pi, you can create a VPC network for a fraction of the cost.
- Learning Opportunity: If you’re interested in cloud computing or networking, this project is a hands-on way to learn the ropes. It’s like having your own lab to experiment with.
- Customization: You have full control over your VPC network. You can tailor it to your specific needs, whether you’re running a home server, testing IoT devices, or building a personal website.
- Security: By creating a private network, you can ensure that your data and applications are protected from unauthorized access.
Getting Started with Raspberry Pi VPC Network Example
Before we dive into the nitty-gritty, let’s talk about what you’ll need to get started:
Hardware Requirements
- Raspberry Pi (any model will do, but newer models offer better performance)
- MicroSD card (16GB or more)
- Power supply
- Ethernet cable (optional, but recommended for a stable connection)
Once you’ve got your hardware sorted, it’s time to move on to the software side of things.
Software Setup
For this project, you’ll need to install an operating system on your Raspberry Pi. The most popular choice is Raspberry Pi OS, but you can also use other Linux distributions like Ubuntu Server if you prefer.
Read also:Andrew Deluca The Rising Star You Need To Know About
Here’s a quick rundown of the steps:
- Download the Raspberry Pi Imager from the official website.
- Select the operating system you want to install (Raspberry Pi OS is a great starting point).
- Insert your MicroSD card into your computer and write the image to it using the Raspberry Pi Imager.
- Insert the MicroSD card into your Raspberry Pi and power it on.
Understanding the Components of a VPC Network
Now that you’ve got your Raspberry Pi up and running, let’s talk about the key components of a VPC network:
1. Subnets
Subnets are like smaller networks within your VPC. They allow you to divide your network into smaller segments, each with its own IP address range. This is useful for organizing your devices and services based on their function or location.
2. Route Tables
Route tables determine how traffic flows within your VPC. You can use them to define rules for routing traffic between subnets or to the internet.
3. Security Groups
Security groups act as firewalls for your instances. They control inbound and outbound traffic based on rules that you define. This is an essential component for securing your VPC network.
4. Internet Gateway
An internet gateway allows your VPC to communicate with the outside world. If you want your devices to access the internet or vice versa, you’ll need to set up an internet gateway.
Step-by-Step Guide to Setting Up a Raspberry Pi VPC Network
Ready to roll up your sleeves and get to work? Here’s a step-by-step guide to setting up your Raspberry Pi VPC network:
Step 1: Configure Your Raspberry Pi
Once your Raspberry Pi is up and running, you’ll need to configure it for your VPC network. Start by updating the system:
sudo apt update && sudo apt upgrade
Next, install any necessary software packages, such as a web server or database management system, depending on your project requirements.
Step 2: Set Up Subnets
Decide how you want to divide your network into subnets. For example, you might have one subnet for web servers and another for database servers. Use the ip command to configure your subnets:
sudo ip addr add 192.168.1.100/24 dev eth0
Step 3: Configure Route Tables
Set up route tables to define how traffic flows within your VPC. You can use the route command to add or modify routes:
sudo route add -net 192.168.1.0 netmask 255.255.255.0 gw 192.168.1.1
Step 4: Create Security Groups
Use tools like iptables to create security groups and define rules for inbound and outbound traffic:
sudo iptables -A INPUT -p tcp --dport 80 -j ACCEPT
Step 5: Add an Internet Gateway
If you want your VPC to communicate with the internet, you’ll need to set up an internet gateway. This can be done by configuring your router or using a dedicated gateway device.
Real-World Raspberry Pi VPC Network Example
To give you a better idea of how a Raspberry Pi VPC network works in practice, let’s walk through a real-world example. Imagine you’re running a small business and want to set up a VPC network to host your website and manage customer data.
In this scenario, you might have the following setup:
- A web server running on one subnet
- A database server running on another subnet
- A security group that allows HTTP and HTTPS traffic to the web server
- An internet gateway to enable communication with the outside world
By organizing your network in this way, you can ensure that your website is secure, scalable, and easy to manage.
Common Challenges and How to Overcome Them
Like any project, setting up a Raspberry Pi VPC network comes with its own set of challenges. Here are a few common issues and how to overcome them:
1. Network Connectivity Issues
If you’re having trouble connecting to your VPC network, check your subnet configurations and route tables. Make sure that your devices are assigned the correct IP addresses and that the routes are properly defined.
2. Security Concerns
Security is always a top priority when setting up a VPC network. Regularly review your security groups and update your rules as needed. Consider using additional security measures, such as SSL certificates for your web server.
3. Performance Bottlenecks
If you notice that your VPC network is running slowly, it might be due to hardware limitations or misconfigured settings. Consider upgrading your Raspberry Pi or optimizing your network settings for better performance.
Conclusion
And there you have it—a comprehensive guide to setting up a Raspberry Pi VPC network example. By following the steps outlined in this article, you can create your own private cloud environment and take your tech skills to the next level.
Remember, the key to success is practice. Don’t be afraid to experiment and try new things. Whether you’re building a personal website, managing IoT devices, or learning about cloud computing, a Raspberry Pi VPC network is an invaluable tool.
So, what are you waiting for? Get out there and start building your own Raspberry Pi VPC network today. And don’t forget to share your experiences and projects with the community. Happy tinkering!
Table of Contents
- What is a Raspberry Pi VPC Network?
- Why Should You Build a Raspberry Pi VPC Network?
- Getting Started with Raspberry Pi VPC Network Example
- Understanding the Components of a VPC Network
- Step-by-Step Guide to Setting Up a Raspberry Pi VPC Network
- Real-World Raspberry Pi VPC Network Example
- Common Challenges and How to Overcome Them
- Conclusion