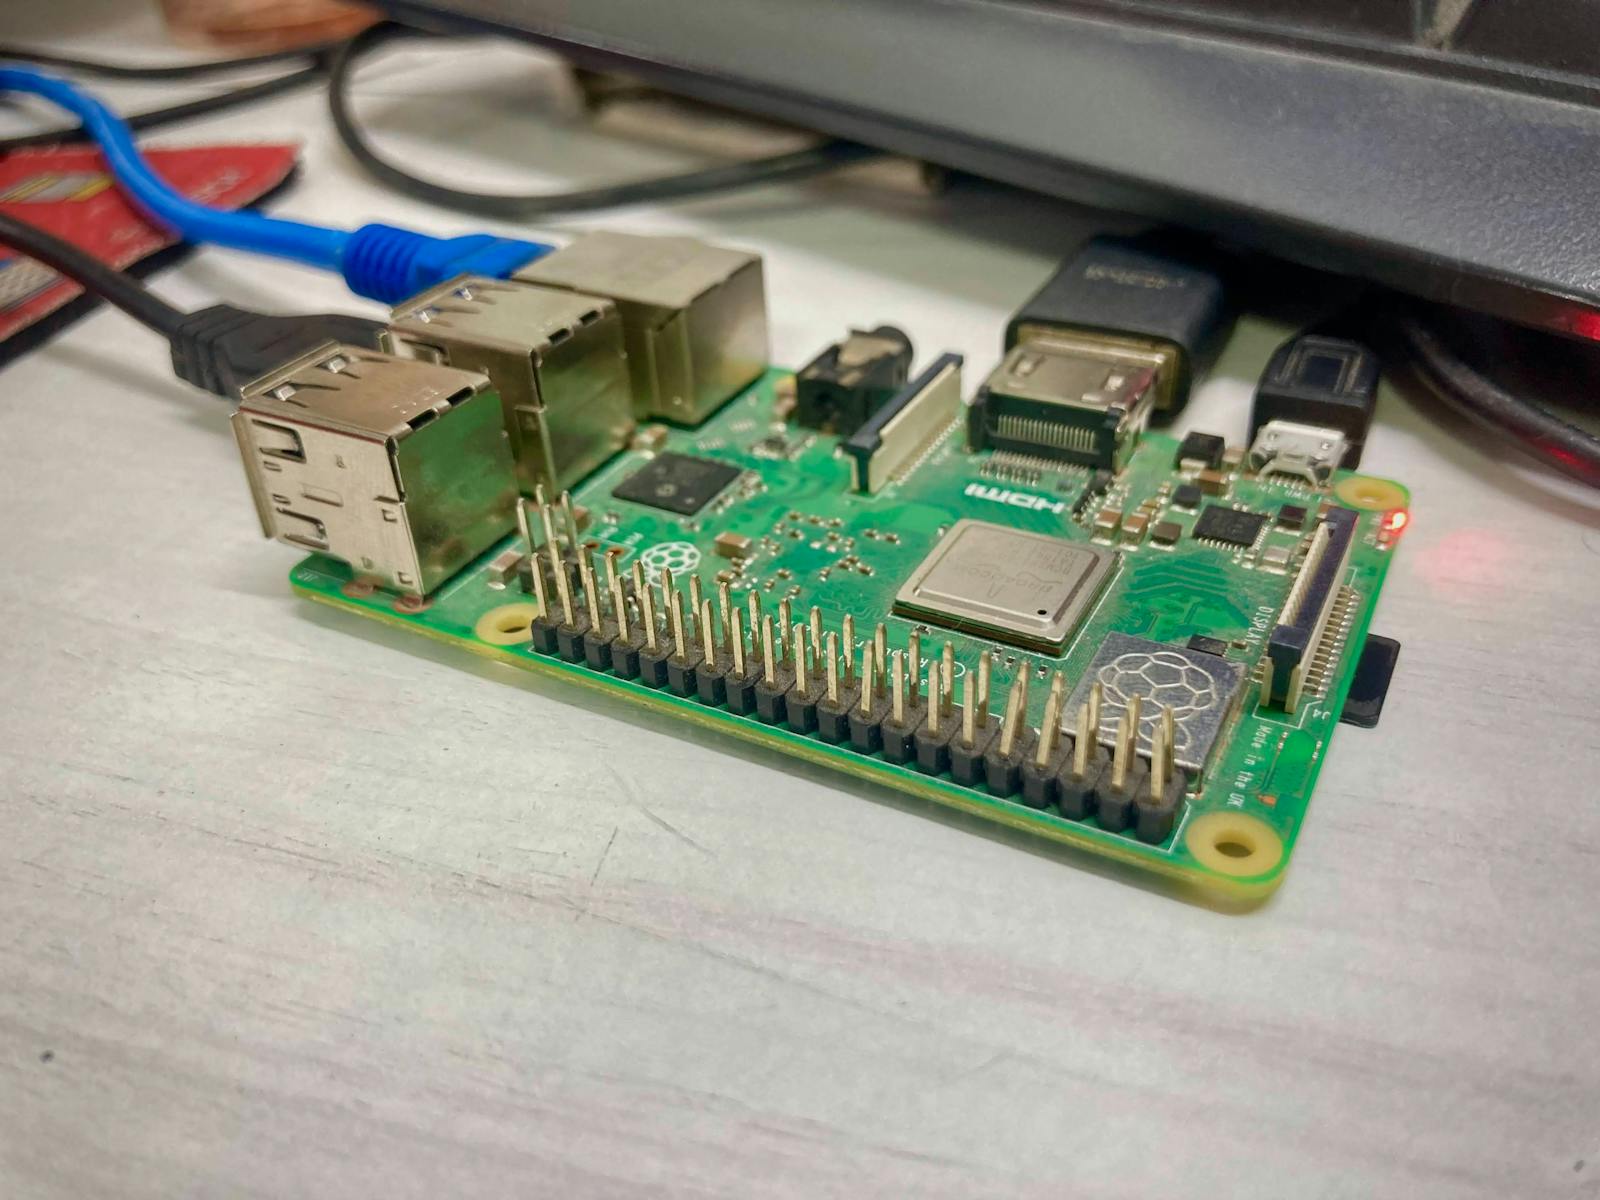
Alright, listen up, tech wizards! If you're diving into the world of home automation, remote IoT setups, or just trying to impress your friends with some fancy tech tricks, you’re in the right place. RemoteIoT behind router Raspberry Pi is a game-changer for anyone looking to control their IoT devices from afar. In this article, we’ll break down everything you need to know about setting up your Raspberry Pi to manage IoT devices remotely, even when they're tucked behind your router. No more tech jargon that feels like a foreign language—just straightforward, actionable advice. Let's get rolling!
This guide is packed with tips, tricks, and practical advice to help you set up your Raspberry Pi for remote IoT management. Whether you're a beginner or a seasoned pro, we’ve got something for everyone. From understanding the basics to troubleshooting common issues, we’ll cover it all. So, grab a cup of coffee, sit back, and let’s demystify remote IoT setups!
Now, before we dive deep into the nitty-gritty, let’s address why this setup matters. Imagine being able to control your smart home devices, monitor security cameras, or manage server operations from anywhere in the world. Sounds cool, right? With the right tools and knowledge, you can make it happen. Let’s explore how Raspberry Pi plays a pivotal role in making remote IoT dreams a reality.
Read also:Drhomey Handy Tips Your Ultimate Guide To Simplify Life
What is RemoteIoT Behind Router Raspberry Pi?
So, what exactly does remote IoT behind router Raspberry Pi mean? Simply put, it’s about enabling your IoT devices to be accessible and controllable remotely, even though they’re connected to a local network behind your router. The Raspberry Pi acts as the brain of this operation, bridging the gap between your local network and the outside world. It’s like giving your devices a passport to the global internet!
Here’s the kicker: setting up remote IoT isn’t as complicated as it sounds. With the right configuration, you can turn your Raspberry Pi into a powerful server that allows seamless communication with your devices. Whether you’re using it for home automation, environmental monitoring, or industrial applications, the possibilities are endless.
Why Choose Raspberry Pi for RemoteIoT?
Now, you might be wondering, why Raspberry Pi? Well, there are a few reasons:
- Cost-effective: Raspberry Pi is an affordable solution for building robust IoT setups.
- Versatile: It can run a variety of operating systems and supports multiple programming languages.
- Community support: With a massive community of developers and enthusiasts, you’ll never run out of resources or help.
- Compact and reliable: Its small form factor makes it perfect for DIY projects, and its reliability ensures it can handle heavy workloads.
Setting Up Your Raspberry Pi for RemoteIoT
Alright, let’s get our hands dirty! Setting up your Raspberry Pi for remote IoT involves a few key steps. Don’t worry if you’re new to this; we’ll walk you through each step in detail.
Step 1: Gather Your Tools
Before you start, make sure you have everything you need:
- Raspberry Pi (any model with Ethernet or Wi-Fi capabilities)
- MicroSD card with pre-installed Raspberry Pi OS
- Power supply for Raspberry Pi
- Router with port forwarding capabilities
- Static IP address for your Raspberry Pi
- SSH client (like PuTTY for Windows or Terminal for macOS/Linux)
Step 2: Configure Static IP Address
A static IP address ensures that your Raspberry Pi always has the same address on your local network. This is crucial for setting up port forwarding. Here’s how you do it:
Read also:Rajesh Koothrappali The Unforgettable Nerd Who Stole Our Hearts
- Log in to your Raspberry Pi using SSH or directly via a monitor.
- Edit the network configuration file:
sudo nano /etc/dhcpcd.conf. - Add the following lines, replacing the placeholders with your network details:
 interface eth0
 static ip_address=192.168.1.100/24
 static routers=192.168.1.1
 static domain_name_servers=192.168.1.1
Understanding Port Forwarding
Port forwarding is like creating a secret tunnel that allows external devices to access your Raspberry Pi. It’s essential for remote IoT setups because it lets you bypass your router’s firewall and connect to your devices from anywhere.
How to Set Up Port Forwarding
Here’s a step-by-step guide:
- Log in to your router’s admin interface (usually
192.168.1.1or192.168.0.1). - Navigate to the port forwarding section.
- Add a new rule, specifying the external port and the internal IP address of your Raspberry Pi.
- Save the settings and test the connection using a tool like
ping.
Securing Your RemoteIoT Setup
Security is paramount when setting up remote IoT. You don’t want unauthorized access to your devices or personal data. Here’s how you can fortify your setup:
Enable SSH with Key-Based Authentication
Passwords are so 2000-and-late. Key-based authentication is a more secure way to access your Raspberry Pi remotely. Here’s how:
- Generate an SSH key pair on your local machine:
ssh-keygen -t rsa -b 4096. - Copy the public key to your Raspberry Pi:
ssh-copy-id pi@your_raspberry_pi_ip. - Disable password-based authentication in
/etc/ssh/sshd_config.
Use a Firewall
A firewall adds an extra layer of protection by controlling incoming and outgoing network traffic. Install and configure ufw (Uncomplicated Firewall) on your Raspberry Pi:
- Install ufw:
sudo apt install ufw. - Allow SSH:
sudo ufw allow ssh. - Enable the firewall:
sudo ufw enable.
Managing IoT Devices with Raspberry Pi
Now that your Raspberry Pi is set up, it’s time to start managing your IoT devices. Here are a few popular options:
Using MQTT for IoT Communication
MQTT (Message Queuing Telemetry Transport) is a lightweight protocol perfect for IoT communication. Here’s how you can set it up:
- Install Mosquitto:
sudo apt install mosquitto mosquitto-clients. - Configure Mosquitto for secure communication.
- Connect your IoT devices to the MQTT broker running on your Raspberry Pi.
Monitoring Devices with Node-RED
Node-RED is a powerful tool for visualizing and managing IoT devices. It’s easy to use and integrates seamlessly with Raspberry Pi. Here’s how to get started:
- Install Node-RED:
sudo apt install nodered. - Create flows to monitor and control your devices.
- Access Node-RED from a web browser using
http://your_raspberry_pi_ip:1880.
Common Issues and Troubleshooting
No setup is perfect, and you’re bound to run into issues along the way. Here are some common problems and how to fix them:
Issue 1: Unable to Connect via SSH
Solution: Double-check your IP address, ensure SSH is enabled, and verify that your firewall isn’t blocking the connection.
Issue 2: Port Forwarding Not Working
Solution: Restart your router, ensure the port forwarding rules are correctly configured, and test the connection using a tool like curl.
Conclusion
And there you have it, folks! A comprehensive guide to setting up remote IoT behind router Raspberry Pi. By following these steps, you can create a secure and reliable setup that allows you to manage your IoT devices from anywhere in the world. Remember, security is key, so always take the necessary precautions to protect your devices and data.
Now, it’s your turn to take action! Share this article with your tech-savvy friends, leave a comment if you have any questions, and explore more articles on our site. The world of IoT is vast, and the possibilities are limitless. Happy tinkering!
Table of Contents
- RemoteIoT Behind Router Raspberry Pi: The Ultimate Guide for Tech Enthusiasts
- What is RemoteIoT Behind Router Raspberry Pi?
- Why Choose Raspberry Pi for RemoteIoT?
- Setting Up Your Raspberry Pi for RemoteIoT
- Step 1: Gather Your Tools
- Step 2: Configure Static IP Address
- Understanding Port Forwarding
- How to Set Up Port Forwarding
- Securing Your RemoteIoT Setup
- Enable SSH with Key-Based Authentication
- Use a Firewall
- Managing IoT Devices with Raspberry Pi
- Using MQTT for IoT Communication
- Monitoring Devices with Node-RED
- Common Issues and Troubleshooting
- Issue 1: Unable to Connect via SSH
- Issue 2: Port Forwarding Not Working
- Conclusion